Quick Style: Crochet Braids Freetress Deep Twist – 22 Inches (Video Tutorial)
This tutorial will show you have to do a crochet braids using freetress deep twist for a long, beautiful look
If you’re like me, you’re always pressed for time. You want to look and feel good, but you’re being pulled in a million directions. Work. Friends. Family. School. With life always ready to invade, time consuming hair routines won’t always fit into our plans.
That’s where new free tress crochet braids come in. They’re easy to install and take way less time than traditional braids. They are so easy to install you can install them by yourself at home. You may need some practice doing the cornrows, if you’re out of practice, but that will be the hardest part. And remember, nobody sees those cornrows anyway, so they don’t have to be perfect.
What you’ll need:
- 5 packs of crochet braids freetress deep twist
- Bobby pins
- Crochet braid needle
Installing your crochet freetress deep twist braids
Once your braid pattern is done, here is how you can easily install the crochet braids freetress deep twist or any other type of new crochet braids.
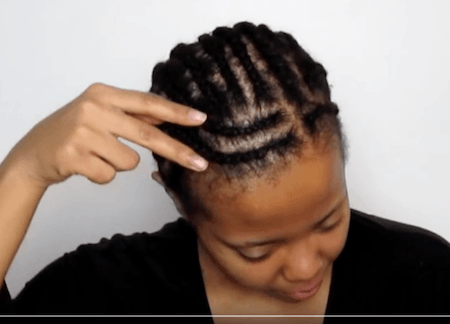
Need help with your braid pattern? Check this out: 3 Braid Down Patterns for Sew-in, Crochet Braids, Quick Weaves
- Pull out sections of the braid in the sizes you want to use for your hair
- Ensure the crochet braid needle has the latch down so that the end is open
- Place the needle through your braided hair perpendicular to the cornrow
- Place the hair extension into the hook section of the needle
- Close the latch
- Pull the hair through your braid
- Release the hair from the needle and hold both sections of hair on either side of your cornrow
- Open up the looped side of the hair extension by inserting two fingers into the loop
- Do a 360 degree turn
- Put the end of the hair extension through the loop
- Repeat steps 9 and 10, three times, ensuring each loop is secure
- Push the knot close to your cornrow as far as it will go while pulling on the end of the hair extension to ensure that it is securely in place
- Continue the above steps space hair one finger width apart until you have completed covered your head and braids with your crochet braids freetress deep twist hair
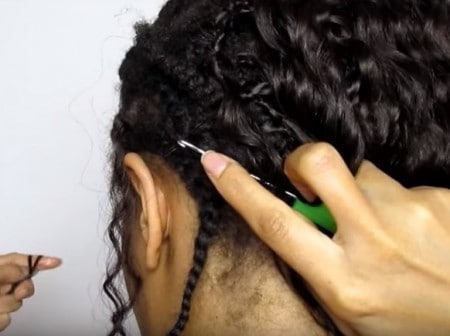
Next step: Adding hair for a ponytail
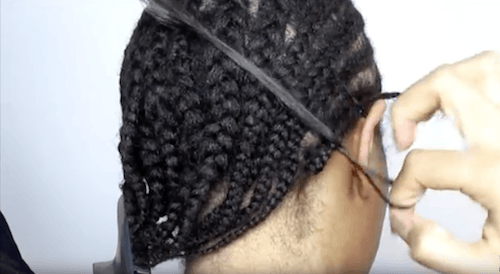
To create hair at the base that you can use to cover up your hair if you want to do a ponytail, follow the following steps:
- Insert the hair into the loop end of the crochet needle as usual
- Push the needle vertically through the base of your cornrow
- Then continue as usual from steps 7 to 10 above until you have covered the nape area of your neck
Here is the first one. We keep on going to cover the entire back of the head.
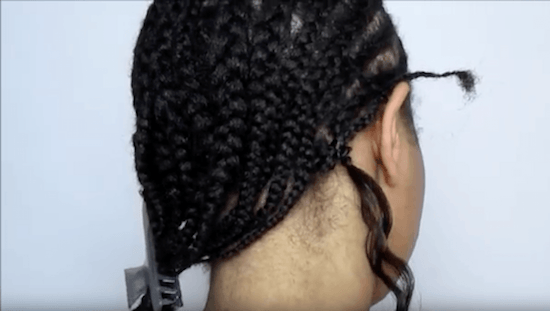
Adding hair for bangs
Next step: Adding hair for bangs. This is super important. Your braid down pattern will determine how your hair falls. If you want a center part, that’s one braid down pattern. Side part? That’s a different pattern. Here we’re going for bangs. Remember, don’t rush. When you face people, including yourself in the mirror, this is what the world will see.
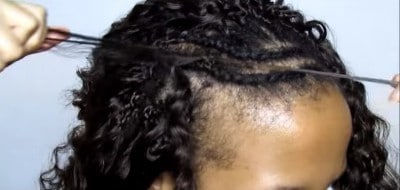
If you will be doing bangs here are the steps for that section:
- Cut the crochet braids freetress deep twist hair extension into half
- Then follow the previous steps to fill out that area of your head with the extensions
- In each section after you have made the loops and secured them in place, separate the hair extension into smaller pieces, pulling as you do so to secure the loops
- The final step now is to cut the hair to a length you desire and trim the ends to even them out as you like
Success! The crochet braids freetress deep twist are all done!
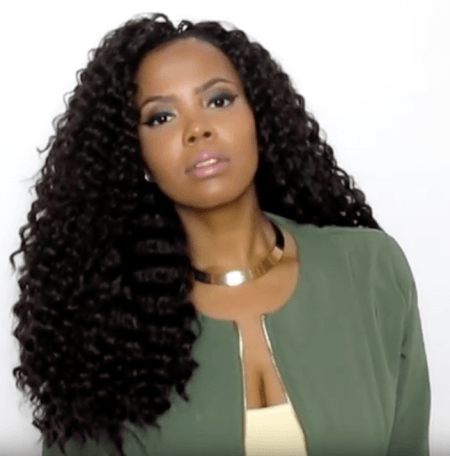
And there you have it, an easy, fast and affordable way to get your hair extensions in without anybody being able to tell that you did it yourself. You will look just as stunning as you would if you had shelled out hundreds of dollars to get it done at the salon.
Courtesy: tastePink


