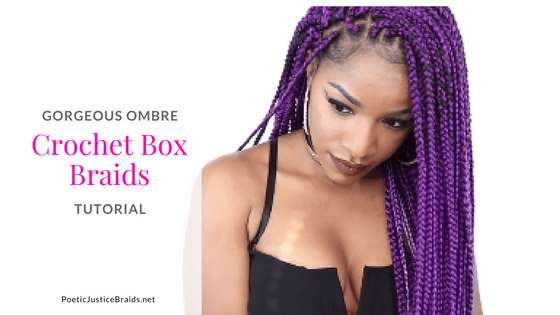
How To Do Gorgeous DIY Ombre Crochet Box Braids
Box braids are a gorgeous, versatile style that can be done yourself at home. Instead of spending money to have a stylist do them for you, why not try them yourself? Here, we’ll show you how to do DIY crochet box braids at home.
Before you start, think about the look you want. We love these purple braids for fall, but you can choose any color you want. Match or highlight your natural hair color, or go for a bold, inspired look like the one below. Think about the length you want. You can do a chin-length bob or keep your box braids long and flowing. Braid all the way to the ends or leave them loose.
But the most important thing is that you can do it yourself! This is a “cheat” method that cuts the time and the cost of getting the look you want. Here’s how:
What you’ll need
- Loose braiding hair
- Pre-made crochet braids (for this look, use one pack of solid purple braids and one pack of purple ombre braids)
- Crochet tool with closed hook
- Moisturizer
- Hot water for finishing ends
- Alcohol-free mousse
Pro tip: these may be slightly different lengths and sizes but the difference can make a great look
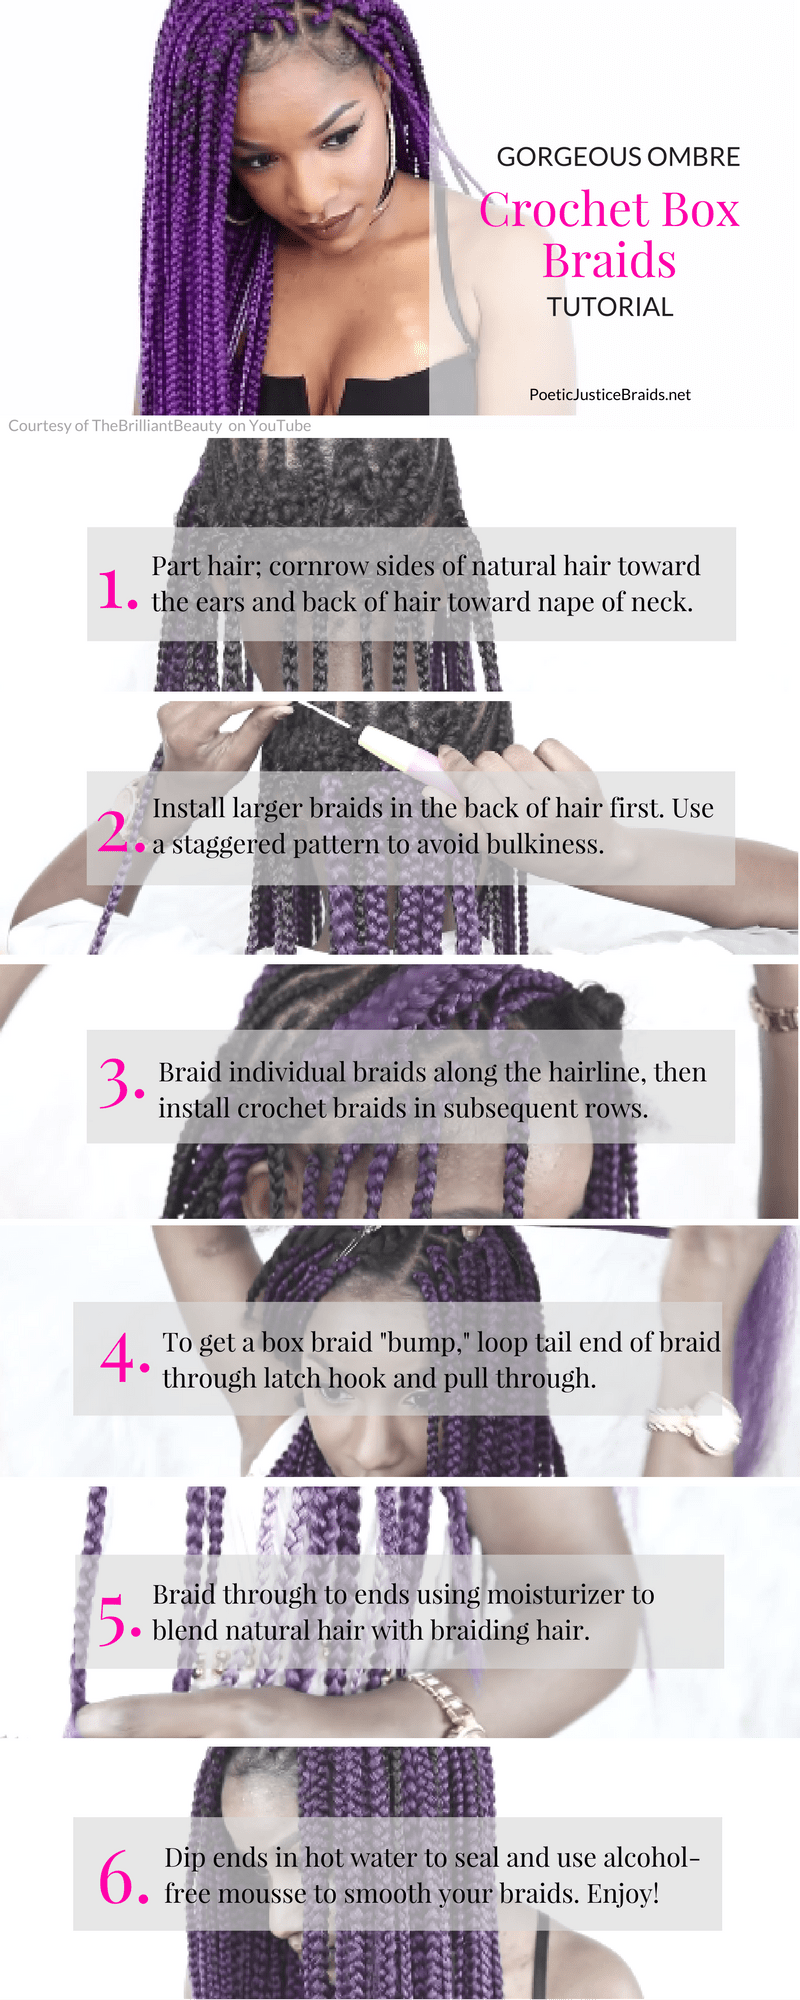
Step 1: Cornrow your natural hair
Cornrow hair in a pattern with braids going downward from the crown down the sides and back of the head. Leave some hair at the crown loose for individual braids. Interlock the ends of your cornrows at the back of the head so that all hair is secured close to your scalp.
Step 2: Install crochet box braids starting at back of head
Starting at the back of your hair, install the larger braids first with the crochet tool. Install them in a staggered pattern to avoid bulkiness. Click here for more detail on how to install crochet braids.
Step 3: Install individual braids and fill in with more crochet braids
Install individual braids at the crown, then fill in the crochet braids. This helps if you’re concerned about using too much or too little hair. Space individual braids closely so that you can flip your braids or change the direction of your hair fall. Continue with staggered pattern to avoid excess bulk.
Step 4: Create a box braid “bump”
Here’s a closer look at the technique and how to get a “bump” that looks like an authentic box braid installation:
- Thread the latch underneath the natural hair cornrow
- Loop the end of the crochet braid onto the latch hook and close the hook
- Pull the crochet tool back through the hair
- Thread the end of the braid through the braid loop. Pull all the way through so that it creates a knot at the base of the hair. This creates a “bump” that resembles a box braid.
Step 5: Braid to the ends using moisturizer
Using a moisturizer of your choice, create three sections with the braiding hair and braid through to the ends.
Step 6: Seal ends with hot water and finish
Dip the last two inches of your braids into hot water to seal. Finish the hair from mid-length to tips with alcohol-free mousse.
Now that your DIY crochet box braids are done, you can plan to wear them for 2-3 weeks. Check here for ideas on how to style your braids, and here for how to keep your hair healthy while your braids are in.
Enjoy this fun and gorgeous look! For more, check out the video below from TheBrilliantBeauty on YouTube.